The first-generation Toyota RAV4 (Model Code: XA10), pre-facelift and produced from 1995 to 1997, introduced the world to one of the first modern compact crossover SUVs. With its unibody construction, available all-wheel drive, and a focus on versatility and fuel economy, the early RAV4 quickly gained popularity among urban drivers and outdoor enthusiasts alike.
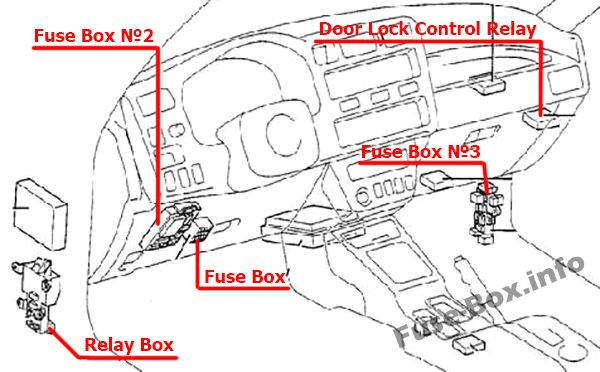
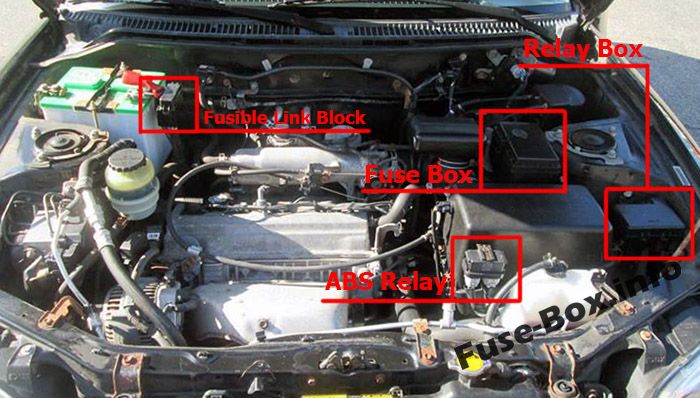
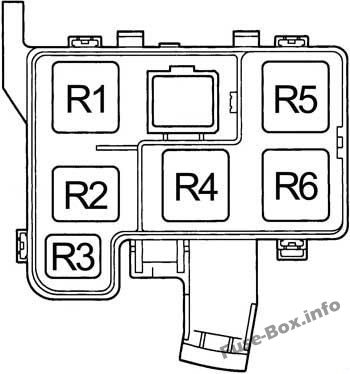
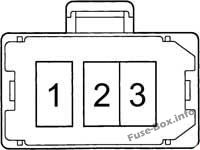
In this article, you will find fuse box diagrams for the Toyota RAV4, covering model years 1996 and 1997. These diagrams provide essential information to help owners and technicians locate and understand the function of each fuse and relay within the vehicle’s electrical system.
What’s Included:
Fuse Box Diagrams – Detailed visuals for identifying specific fuses and relays.
Fuse Panel Locations – Clear instructions on where to locate each fuse panel inside the vehicle.
Fuse Assignments – Comprehensive listing of each fuse and relay function to aid diagnostics and repairs.
This guide is an indispensable tool for maintaining and troubleshooting the Toyota RAV4 (1996–1997), ensuring optimal performance of its electrical components.
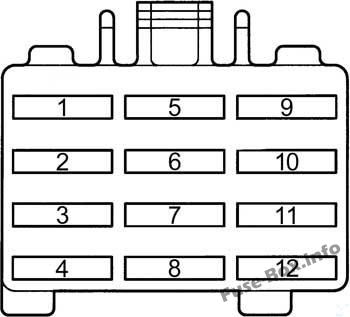
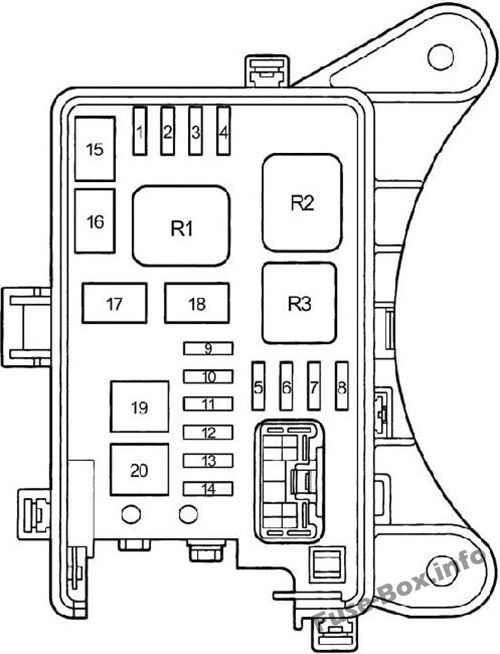
Gauges and meters, service reminder indicators (except discharge and open door warning lights), backup lights, air conditioning system, power windows, rear window defogger, center differential lock system, electronically controlled automatic transmission system
3
TURN
7.5
Turn signal lights
4
CIG & RAD
15
Cigarette lighter, clock, car audio system, power rear view mirrors
5
DEF-I/UP
7.5
Multiport fuel injection system/sequential multiport fuel injection system
Which fuse protects the cigarette lighter (power outlet) in the Toyota RAV4?
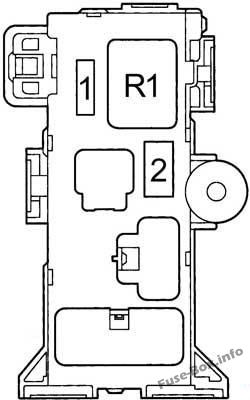
In the Toyota RAV4, the primary cigar lighter (12 V power outlet) is protected by: Fuse #4 “CIG & RAD” located in Instrument Panel Fuse Box #1. This fuse supplies power to both the cigar lighter and the radio circuits.
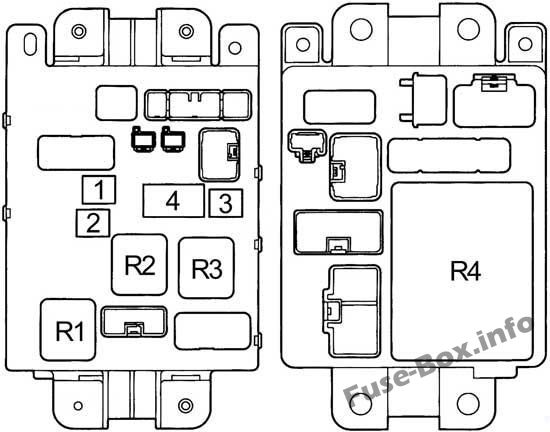
Additionally, some models include: Fuse “AM1” in Passenger Compartment Fuse Box #2, which provides auxiliary power for related systems.
If the cigar lighter or radio stops functioning, check fuse #4 first. For broader power issues, the AM1 fuse may be involved as well—refer to your owner’s manual to verify the exact layout and wattage ratings.